Editing Areas
You can edit the vertices of an area or drag it in the viewport to change an area's coverage.
-
Select Areas. The Areas panel opens.
-
Do either of the following, depending on the area you want to edit:
-
Draw a New Area Select Add Area, then draw a new area. See Drawing Areas.
-
Select an Existing Area Next to the area you want to edit, select the menu
 , then select Edit Area.
-
-
On the Areas toolbar, select Edit Area. The viewport zooms to the area's extent, and the area becomes editable.
-
Do either of the following, depending on the shape you are editing:
 Edit a Polygon
-
Make changes to the polygon's shape or location.
-
Move Existing Vertices Click and drag an existing vertex to move it.
-
Add New Vertices Click and hold anywhere on a side to add a vertex, then drag the vertex to move it.
-
Move Entire Area Click and drag the center of the shape.
As you edit the polygon, you will see the length of each segment and the total area of the polygon.
-
-
When you are finished editing the polygon, select Finish Editing Area. Select Cancel to return the area to its original shape and location.
Edit a Rectangle
-
Make changes to the rectangle's shape or location.
-
Resize
-
Rotate Hold SHIFT, then click and drag a corner or side.
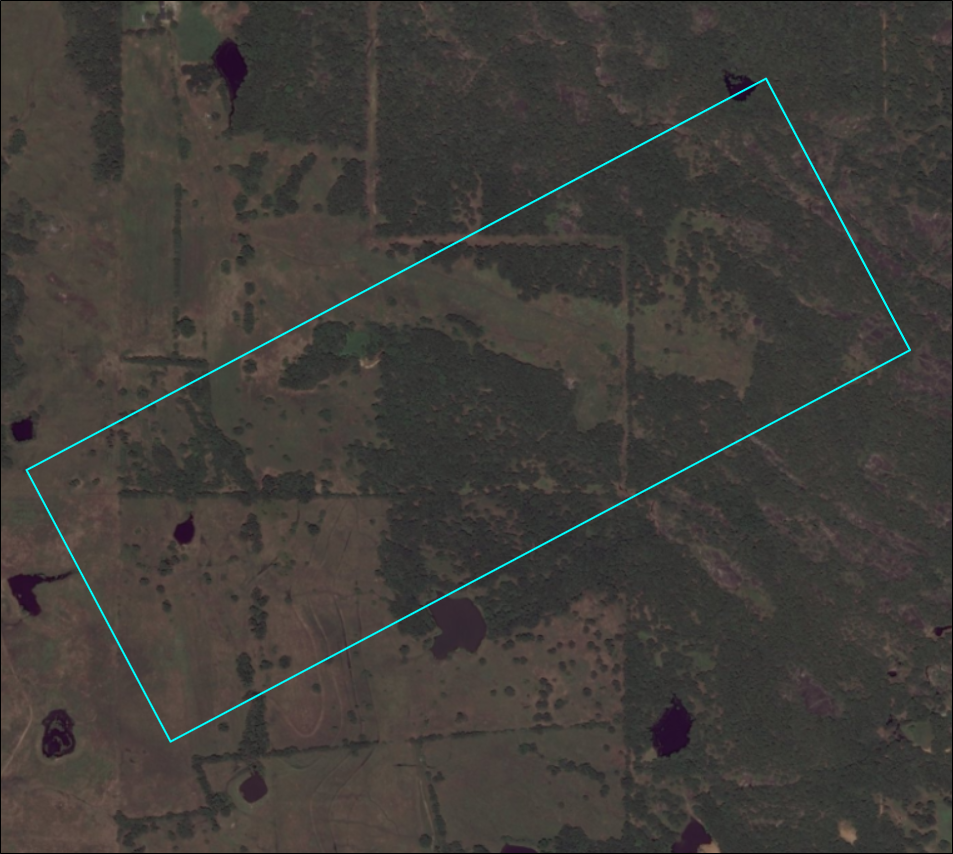
A rotated, rectangular area
-
Move Entire Area Click and drag the center of the shape.
-
Edit the Area's Size or Location Select the down arrow
 to expand the drawing box.
As you edit the rectangle, you will see the length of each segment and the total area of the rectangle.
-
-
When you are finished editing the rectangle, select Finish Editing Area. Select Cancel to return the area to its original shape and location.
Edit a Pre-Defined Area Template
Pre-defined area templates are created using earth rectangles. This achieves the most accurate area size. See Drawing Areas.
-
Make changes to the area's size or location.
-
Resize
-
Rotate Hold SHIFT, then click and drag a corner or side.
-
Move Entire Area Click and drag the center of the shape.
-
Edit the Area's Size or Location Select the down arrow
to expand the drawing box.
-
-
When you are finished editing the area, select Finish Editing Area.
Edit an Area Drawn using 1° Cells
Areas drawn using 1° cells are treated like polygons after they are created. You cannot edit the cells after you finalize your area. However, you can change the area's overall shape, size, and location.
-
Make changes to the area's shape or location.
-
Move Existing Vertices Click and drag an existing vertex to move it.
-
Add New Vertices Click and hold anywhere on a side to add a vertex, then drag the vertex to move it.
-
Move Entire Area Click and drag the center of the shape.
As you edit the area, you will see the length of each segment and the total area of the area.
-
-
When you are finished editing the area, select Finish Editing Area. Select Cancel to return the area to its original shape and location.
Edit an Earth Rectangle
-
Make changes to the area's size or location.
-
Resize
-
Rotate Hold SHIFT, then click and drag a corner or side.
-
Move Entire Area Click and drag the center of the shape.
-
Edit the Area's Size or Location Select the down arrow
to expand the drawing box.
-
-
When you are finished editing the area, select Finish Editing Area.
-
-
On the Areas toolbar, select Continue.
When editing an area, to remove a completed—but unsaved—shape from the viewport, on the areas toolbar, select Remove Shape. Draw a new area or select Cancel.
See Drawing Areas.
-
In the Save Area As dialog, enter the following:
-
Area Name A name for your area.
If you are editing an existing area, you may keep the area's existing name or give it a new name. The Area Name must be unique.
-
Area Details (Optional) A description of the area.
-
-
Select Save Area. The edited area appears in the Areas panel.
More About Editing Areas
If you edit