Using Card View and List View
In the Imagery panel, you can switch between card view and list view. Each view has unique functionality.
Using Card View
Card view is ideal for selecting imagery because you can see thumbnails of each image in the Imagery panel.
-
Zoom to level 11 or higher.
-
Select Imagery. The Imagery panel opens.
-
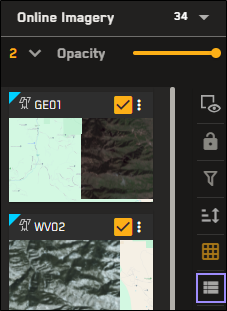
On the Imagery panel toolbar, select Card View
 .
.
When in list view, you can switch back to card view from the Imagery panel toolbar.
You can use card view to select imagery and work with it in the viewport. You can perform the following basic image-related tasks in card view:
When using card view at lower zoom levels (13.9 – 11), you will see a generic overlay on the card. This overlay provides basic image metadata to help you quickly locate the imagery you want to view.
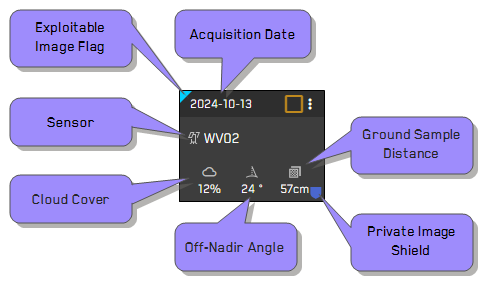
A card with a metadata overlay to quickly identify information such as sensor, cloud cover, ONA, GSD, and more. Some cards display icons that indicate if it is private or exploitable.
Imagery results are not available below zoom level 11.
When using card view at zoom level 14 and above, you will see a small basemap on each thumbnail image. This thumbnail image serves as a "mini viewport" to indicate where the image strip is in the viewport.
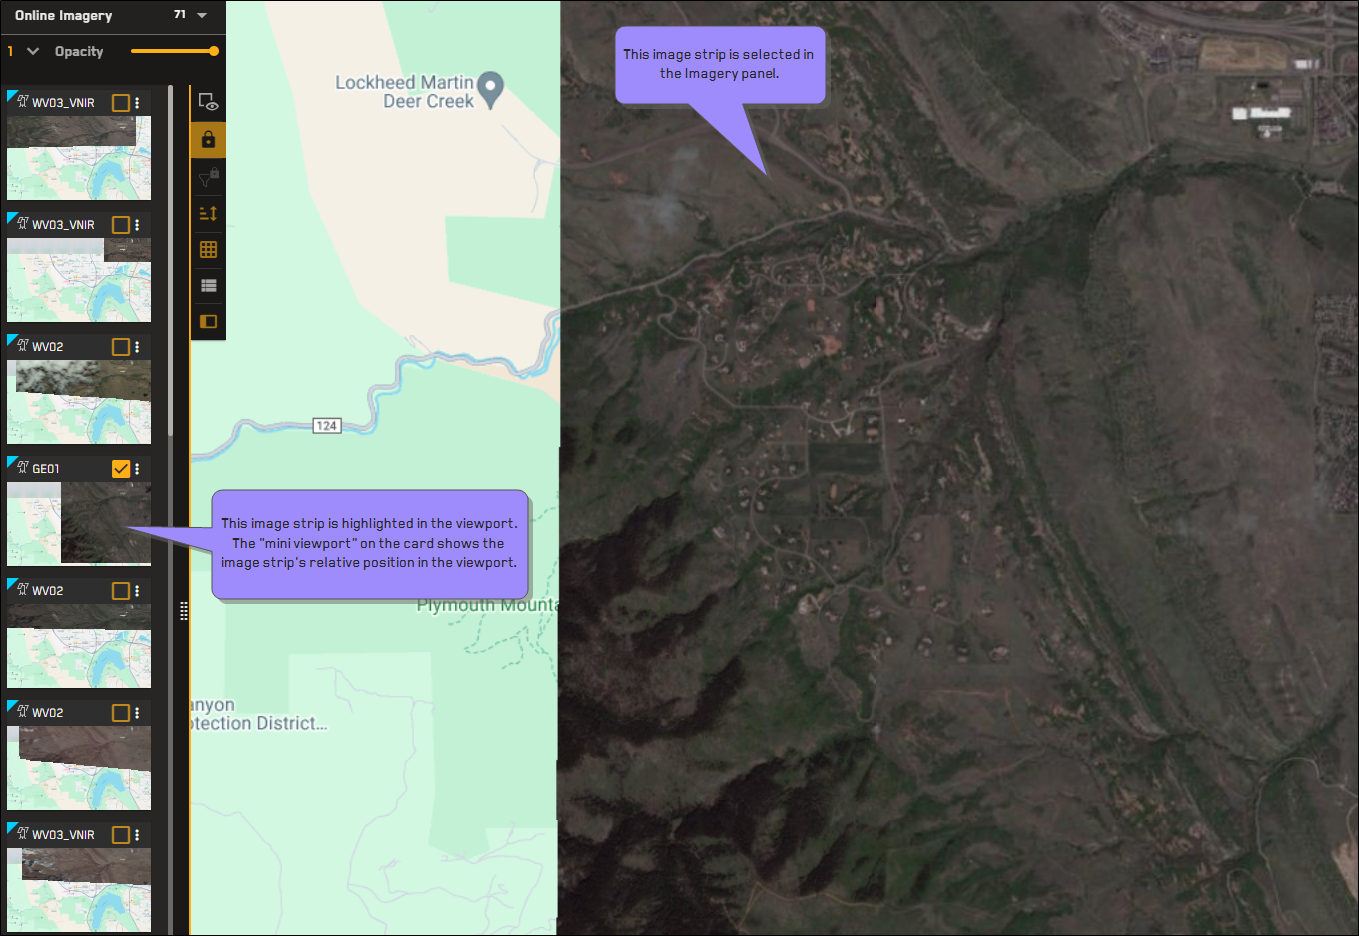
Using the mini viewport on a thumbnail to locate an image strip in the viewport.
When looking at the mini viewport, remember:
-
The mini viewport includes the area underneath the Imagery panel.
-
The Imagery panel locks when you select an image. When locked, the imagery in the Imagery panel does not refresh when you pan or zoom. This includes thumbnail images, so the mini viewport may not be accurate if you pan or zoom after the Imagery panel locks.
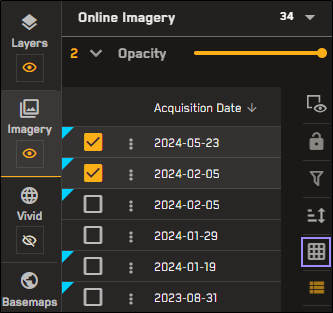
Using List View
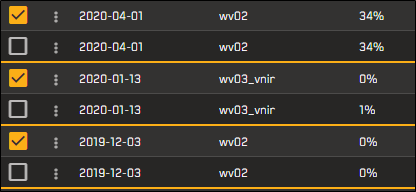
List view is ideal for working with image metadata. In list view, you can edit the visible metadata fields and sort images by metadata. List view is the default view for the Imagery panel when viewing the archive imagery catalog.
List view is the default view for the Imagery panel when viewing the archive imagery catalog. If the Imagery panel is currently in card view, you can switch to list view from the Imagery panel toolbar.
-
Zoom to level 11 or higher.
-
Select Imagery. The Imagery panel opens.
-
On the Imagery panel toolbar, select List View
 .
.
When in card view, you can switch back to list view from the Imagery panel toolbar.
You can use list view to select imagery and work with it in the viewport. You can perform the following image-related tasks in list view:
-
Toggle the image selection checkbox.
-
Hover over any metadata row to see the corresponding image's footprint outlined in the viewport.
-
Drag and drop images in the list to reorder them and change their stacking order in the viewport.
List view allows you to see a large amount of image metadata in one place. If you do not want to use the default metadata attributes, you can change them in the Settings menu.
-
While in list view, select Settings
 . The Settings menu opens.
 -
Select the checkbox next to each attribute to show or hide that attribute in list view.

The Settings menu for online imagery.
-
(Optional) If you want to show or hide all attributes, select Show All or Hide All.
You cannot hide the Image ID.
Changing visible metadata attributes affects only the selected catalog (i.e., selections for the archive catalog do not affect the online catalog).
List view allows you to see large amounts of image metadata in one place. You can sort the list by column to help you find imagery that fits your specific criteria.
-
To sort a column in ascending or descending order, select the arrow at the top of any column.
-
The active metadata field appears in blue with an arrow to indicate sort direction.

Not sorted/default sort

Sorted in ascending order.

Sorted in descending order.
When sorting archive imagery, sorting is limited to Acquisition Date, Cloud Cover, and Off Nadir Angle (both in the Sort ![]() menu and when using sort arrows in the Imagery panel). This is a limitation of the Archive Discovery API.
menu and when using sort arrows in the Imagery panel). This is a limitation of the Archive Discovery API.
Sorting (or "stacking") order determines the order that imagery displays in the viewport and the Imagery panel. By default, images are stacked with the most recent image on top, and older images beneath it in descending date order. Applying a different sort order
Use filters to narrow down your list even more. See Filtering Imagery.
You can also sort using the Sort ![]() menu. For more information about all sorting options, see Sorting and Stacking Imagery.
menu. For more information about all sorting options, see Sorting and Stacking Imagery.
More About Card and List View
In both card and list view, a blue bar identifies archive stereo pairs.
Three archive stereo pairs, shown in list view.